
The thought of making my own dinning room table had never even crossed my mind. I was in the process of remodeling our home and making it ours and decided we had to attempt this! Plus who doesn't love saving hundreds of dollars?

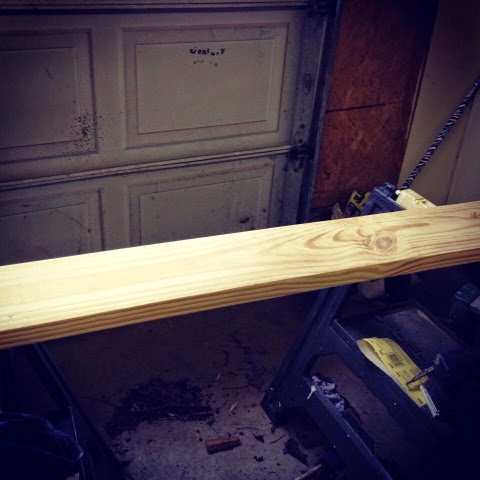
We started out with 5 pine 2x6's cut to 6ft (I can't remember why we opted for the 2x6 vs 2x8 like the blog above). I sanded them smooth and rounded the corners. One thing I wish I had done was fill the holes from the knots with wood putty. I love the look of the rough and worn wood, buuuut food tends to fall there and it's hard to get it out.
Next step, after I wiped off the sawdust, was to stain. I used Miniwax stain in Red Mahogany. I brushed it on and waited about 15 minutes, and then I wiped the excess off. I applied a second coat a few hours later. All of the prep work is what took the longest. I had to do it during nap times, so it took me longer than it should have. I really actually enjoyed the process though. When I finished staining, I sanded the edges to give it a worn look. Next I applied some polyurethane. I know your supposed to sand inbetween staining coats & poly, but I didn't. I hope it doesn't bite me in the butt later, but I wanted to finish my table!

I also had to prep my legs and the apron boards. I painted them an aqua blue. I've lost the paint name so if I ever need to match paint, I'm in trouble!
Jake actually put my table together for me. He did it in a matter of time.

After it was assembled, I decided to apply a coat of polyurethane to the legs and apron. I didn't want my blue paint chipping. I absolutely love my table and the way it turned out!
No comments:
Post a Comment